
Guides → First playthrough tips
First playthrough tips
The things The Sinking City 2 doesn't explain well, drawn from the official Xbox Wire deep dive and launch reviews (August 19, 2026). Light mechanic spoilers only.
Pick your difficulty deliberately
- Combat and Investigation difficulty are separate settings. You can make fights brutal while keeping investigations guided, or vice versa.
- The easiest combat setting includes an invincibility toggle — a genuine accessibility option if you're here for the story.
- Higher Investigation difficulty doesn't change the puzzles; it changes how explicitly clues are recorded in your journal.
See every mode and recommended pairing in the difficulty settings guide.
Save often — The Sinking City 2 lets you
Saving happens at gramophones in safe rooms, which also hold your item stash and talent upgrades. There is no penalty for saving repeatedly, and safe rooms are placed before every major fight. If you see one, use it.
Combat basics the tutorial skips
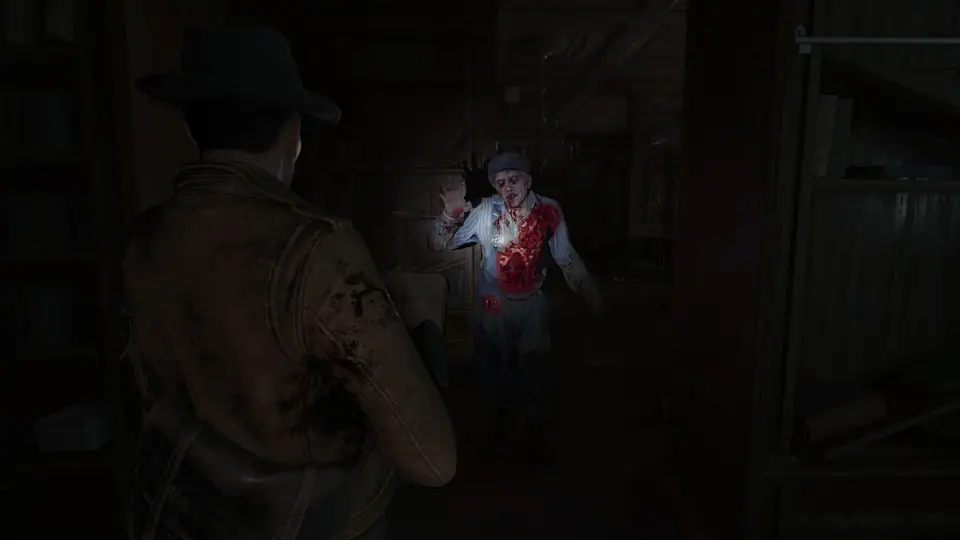
- Stomp on corpses. Slither Worms re-possess downed bodies if you leave them intact — a stomp is permanent denial and saves ammo.
- Dodge, punch and stomp are always available. Ammo is scarce by design; melee finishes and weak-point focus stretch it further.
- Shoot the weak points. Slither-type enemies take heavily increased damage there, and talents can stack that bonus into a bloodbath.
- Know what's hunting you: Slither Worms and Abominations (parasite colonies piloting corpses), the Stygian Harvester (ambusher that flees when pressured — don't chase it into its friends), the Acheronian Juggernaut (mini-boss tier, solve it with positioning), Lethian Revenants, Deep Ones, and the Shadow.
- One enemy in the hospital chapter cannot be killed — damage only banishes it briefly. Save your ammo and avoid it.
If fights keep draining you, the dedicated combat and ammo guide expands Frogwares' official weak-point and retreat advice.
Do the optional content — it pays in power
- Optional investigations reward inventory slots, talents and weapon upgrade parts — the things you'd otherwise never find. Skipping them makes the late game noticeably harder.
- Connect evidence pairs in your Investigation space whenever the prompt appears — every connection is Dream Essence for talents.
- Open every E.R.C. Crate you can (you'll need Activator Pens — grab them when seen). Crates hold weapon upgrades, inventory slots and ammo. See weapons & upgrades.
- Activate every radio you find and read notes even if you skip puzzles. The 10 Mushroom Jack broadcasts are tracked in the chapter-order radio checklist.
Inventory discipline
Inventory space is tight and the shotgun alone takes two slots. Use the safe room stash instead of hauling everything; craft ammo for what you actually carry; and don't hoard healing "for later" — later is now.
Stuck?
Check the puzzle solutions & safe codes or the full chapter walkthrough.