
Guides → Full walkthrough
The Sinking City 2 walkthrough
Quick answer: this The Sinking City 2 walkthrough covers all five campaign chapters. Use the jump list if you only need Chapter 3, the Frozen Statue, bosses, all weapons, or the Holloway Manor walkthrough.
Prefer video? Watch the full playthrough
The text route below is the fastest way to find a specific step. If you'd rather follow along in real time, this complete playthrough starts exactly where our Chapter 1 begins:
Video: theRadBrad on YouTube
Chapter 1: A New Day
Goal: leave the apartment and reach the Miskatonic Library Annex.
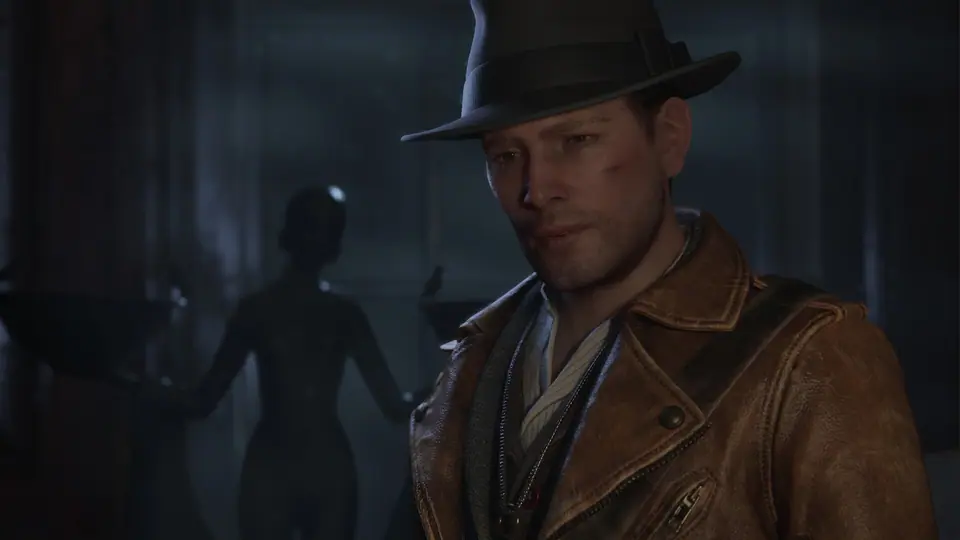
- Leave the flat, climb down to street level and take the boat through the flooded streets until a closed watergate blocks you.
- Dock, climb through the window with the white sheet, and cross the building to the gate lever. The power is out — you need fuses.
- Use the nearby safe room (your first one: save, store items, unlock talents), then head downstairs and read the Gate Switchboard note.
- Cross the street into the apartment building. Optional: the safe upstairs opens with 1908 (the year the radio store opened) and holds handgun ammo and a healing item.
- In Apartment 6, connect the Gate Fuses and Wires note to the Gate Switchboard note in your Investigation space for your first upgrade point, then drop through the floor hole into the Radio Store and take the fuses.
- Solve the fuse box: straight fuse on the two blue wires, T-shaped fuse on the three yellow/green wires, right-angle fuse on the two red/orange wires — fuse placement. Validate, pull the lever, and take the boat onward.
- Continue through the second watergate until you reach the red library building.
Chapter 2: The Wake-Up Call
Goal: explore the Annex, then save the woman at the Devil's Reef Hotel. This is the long open-city act.
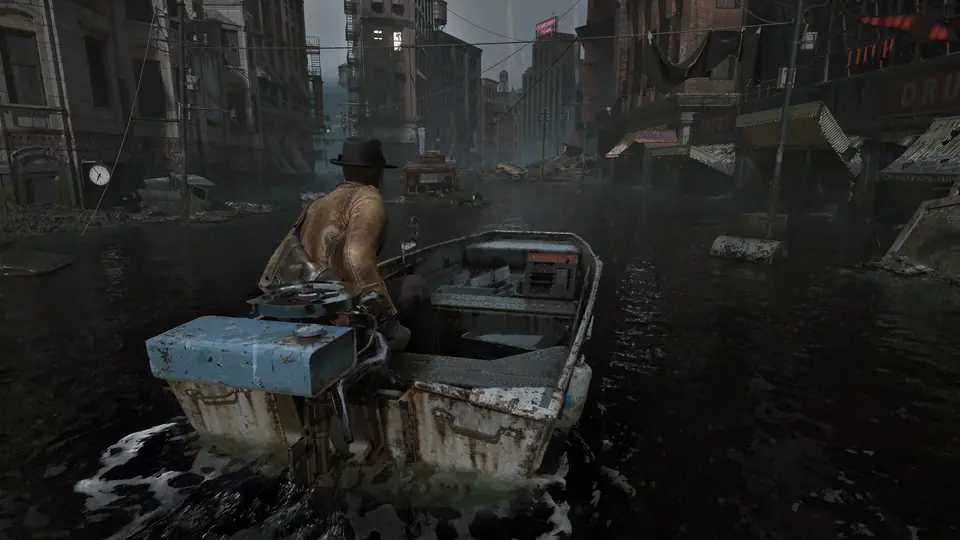
- In the Annex, work up to the second floor and use the two cranks in sequence to shift the bookcases blocking the Restricted Section. Take the glowing book.
- After meeting Corentin, pick up the E.R.C. Activator Pen and open the E.R.C. Crate on the first floor for a pistol upgrade.
- Boat to the church. The watergate lever is locked — the code is the year of the bell: 1672 (the church was built in 1667; the bell was cast five years later). Detailed answer: church floodgate code.
- Church sequence: take the Star key from the body, open the upstairs room for the Trident, place the Trident on the obelisk outside, then retrieve Printing Plate C from the Star-key crypt. Enter the symbol order from the note into the obelisk (step back — lightning follows), return the Trident, and use the altar dagger to ride the lift down. Kill what answers the strange mouth, then take the Dream Essence from the altar. See the exact obelisk symbol order.
- Crane sequence: the crane needs fuel and a gear. Get the Graveyard key from The Silver Eel (the shotgun is on display in the room past the safe room — take it), cut the power at the Fire Department to cross the electrified puddle for the Gas Canister, and find the Steel Gear in the Printing House area (A.P.H. Key route through the storage room). Hook the red claw with the crane, lift the whale clear.
- Optional but recommended: with the claw moved, enter the apartment beside the Fire Department for Printing Plate B. Plate A is in the building past the makeshift ramp near the Printing House. Use all three plates in the secret room off the Printing House — all gold earns the shotgun's Cutter's Sturdy Stock, all silver earns Dream Essence. Plate map and numbered patterns: Printing Press puzzle.
- Devil's Reef Hotel: meet Lorelei, then work the upper floors. Room 301's safe (2137) holds the Voss Aiming Grip pistol attachment — Room 301 safe code explained. Collect three Lorelei Tokens and open the three Lorelei Chests (one chest triggers a damaging noise — shoot the four devices in the room, one in the bathroom) to get the three Lorelei Lock keys.
- If you need room-by-room directions, use the focused Devil's Reef Hotel & Lorelei walkthrough. It includes all three chest locations, the Staff Key route, ventilation controls and escort video.
- Basement: align the ventilation machine (button 1 twice, button 2 four times, button 3 twice, pull the lever, button 1 once). Take the Minuteman submachine gun beside the machine before leaving.
- Escort sequence: pull levers marked by red lights to keep Lorelei moving to the boat. A boss-like enemy appears at the end — shoot its legs until it kneels, then the growths on its back. Deliver Lorelei to the Annex and take the mask.
Chapter 3: A Sight For Sore Eyes
Goal: Akeley Hospital — charge the Prism at three coloured stations and recover Faye's body. For a focused route with a station checklist, use the Akeley Hospital walkthrough.
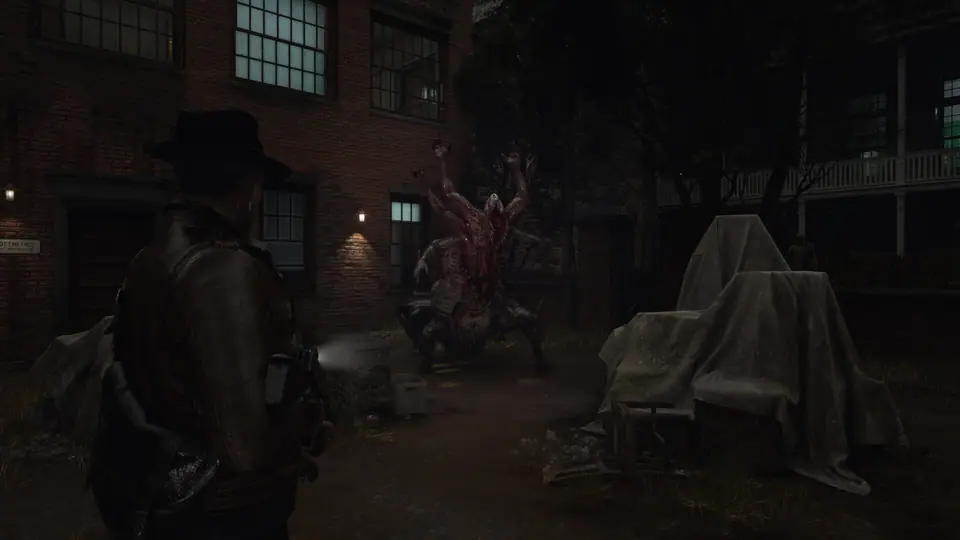
- Take the Prism from the device in front of the red bubble (an alarm and ambush follow). You now need to charge it at blue, yellow and pink stations.
- Morgue: open the head container (remove screws, the piece below the disc, work the disc switches, then the three metal pieces) to earn the Woman's Face Mask after the fight.
- Blue station: collect blue symbols from the poster and the bear trap in the garden, use Anti-Rust Acid on the central staircase door, and align the three dials to the blue triangle.
- A new unkillable inky enemy now patrols the hospital — damage only banishes it briefly. Avoid it where you can.
- West wing: recover the Right Half of a Face (first floor container) and Left Half of a Face (Orthotic Consulting Room, past the large enemy — shoot the red weak point on its chest). Combine them at the Prosthetics Workshop workbench for the Old Man's Face Mask. The rifle is in the room beyond the Materials room — don't leave without it.
- Wireless Room: talk to all three brains in jars, then enter their numbers — 13, 05, 36 — for Dream Essence. Full route: Wireless Room code.
- Yellow station (Chapel): collect yellow symbols from the body in the east rooms, the book near the filing cabinets, and the Chapel lectern. The marker is in the lower-left corner. Take the Head Surgeon's Face Mask from the room behind the Chapel.
- Pink station (Manipulations room): the last pink symbol comes from the body past the Vertebral Key door. The marker is on the lower-right. The Storage room padlock nearby is 1308 — behind it is a submachine gun upgrade.
- Use the Fully Charged Prism in the Anatomical Theatre, chase the creature that steals Faye's body, survive the wave fight at the fence, and leave by boat.
Chapter 4: Time and Tide
Goal: the Fish Market — gather three charged Leyden Jars to open the Broken Hold. For the complete route with a code table and official gameplay video, open the Fish Market walkthrough.
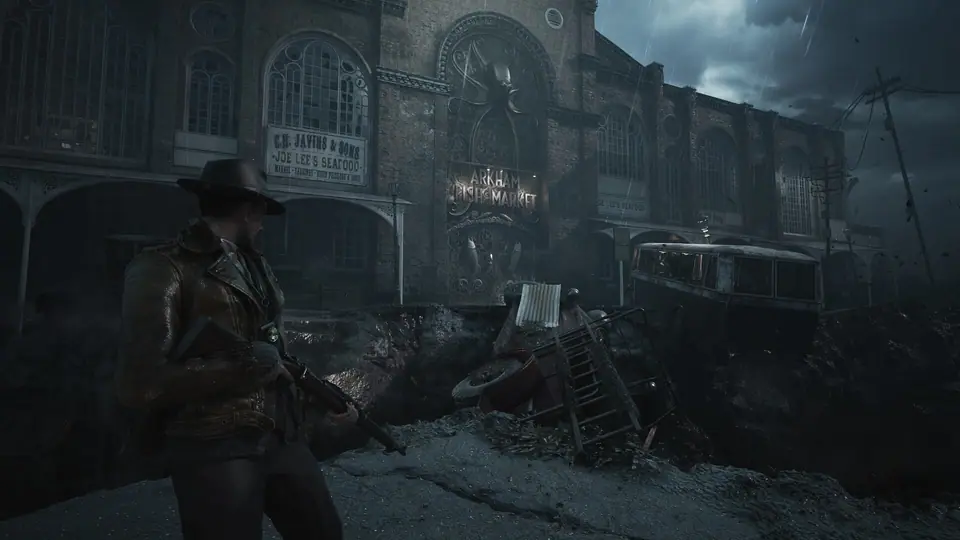
- Leyden Jars are the chapter's key item: they power the starfish growths blocking doors. You'll shuttle them between sockets constantly — remember where you parked them.
- Take the Bolt Cutters from the Weighing Station to open chained doors, and the Fish Eye Key and Snowflake Key for the West Wing and Cold Storage routes.
- The buoy locker in the Fishing Shop (code: Lighthouse – Rope – Starfish – Octopus) holds a submachine gun upgrade.
- The Locker Room safe is 1496 — a grenade launcher upgrade, before you even own the launcher.
- Dispel the ward on the Abandoned Office with Freddie's Urn (shoot Freddie — second from the right, the one not playing an instrument — in the painting, then take the urn). Ma Fishface's Shop scene follows.
- The grenade launcher itself is behind the two-jar starfish door at the Weighing Station.
- Salt Storage in the Cutting Area opens with the button combination I, IV, IX, XVI (grenade launcher upgrade inside; stomp the green figure for Dream Essence) — Salt Storage code explained.
- Past sequence: in the memory, follow the ghostly figures between rooms; the Abandoned Office safe code is 6294. Back in the present, take the Heart of Stone, grow the statue's arms, and shoot them in order: kneeling person (right), octopus (upper left), Deep One (lower right), hourglass (left), Leyden Jar (lower left). Take the Heart of Ice to the frozen statue in Cold Storage for the Depleted Leyden Jar. Full route and blocker checks: Frozen Statue & Heart of Ice guide.
- Recharge the jar at the Construction Site contraption — a wave fight where you periodically pull the red-lit switches. With three jars, open the Broken Hold.
Boss: Shoggoth
Don't just shoot it. Activate all three strange devices in the arena to expose Shoggoth's eyes, then shoot the eyes. Repeat the cycle; its attacks get more frenzied as it takes damage. Stock up in the safe room at the bottom of the stairs beforehand.
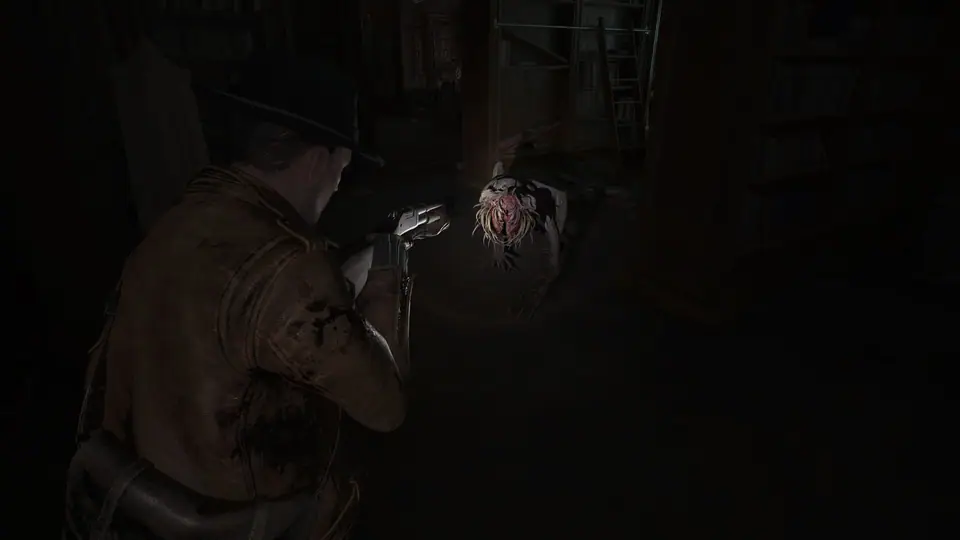
For the full encounter table and video, see the boss guide.
Chapter 5: Cold Comfort
Goal: the caves below Arkham — power the portal and finish The Sinking City 2.
- Take the Sturdy Key beside the strange door, open the brown chest in the cliffside tent for the Sagittate Stone, and use it on the door.
- Fight through the Crypt to Upper Storage for the Engraved Pod. Two rifle upgrades are in this chapter's E.R.C. Crates (Portal Room second floor; the cliffside tent) — grab the Activator Pens nearby.
- Use the Engraved Pod on the device in front of the portal, align the pieces on all sides, then pull the generator lever.
- Through the portal: boat forward, approach Faye, and stock up in the final safe area — the last boss is through the large door.
Final boss: Slither Prime
No puzzle trick this time: shoot the head, its weak point, with everything you have. It summons adds and has a range of attacks — clear the summons, dodge, and keep damage on the head. When it falls, walk with Faye to the altar to finish the game.
Phase-by-phase preparation and the full encounter video are in the boss guide.
After the credits
Completing the game unlocks the Ex Oblivione New Game+ mode. Frogwares directly confirms that the mode contains secrets and lore; its broader carryover wording needs a separate evidence boundary. Use the source-checked New Game Plus guide for the replay, or the ending explanation for the campaign's final outcome.
Walkthrough FAQ
How many chapters are in The Sinking City 2 walkthrough?
Five campaign chapters: A New Day, The Wake-Up Call, A Sight For Sore Eyes, Time and Tide, and Cold Comfort. Holloway Manor is separate DLC.
Where is The Sinking City 2 Chapter 3?
Chapter 3, A Sight For Sore Eyes, is the Akeley Memorial Hospital Prism route.
Does the walkthrough include the Frozen Statue?
Yes, in Chapter 4. The dedicated Frozen Statue page has the arm order and Heart of Ice steps.