
Guides → Safe codes & puzzle solutions
All safe codes & puzzle solutions
All safe codes and combinations at a glance
These are the fixed four-digit combinations. Symbol, frequency and sequence locks are listed immediately below the table so this page can be used as a single quick-reference sheet.
| Location | Code | Clue source | Reward |
|---|---|---|---|
| Apartment 5 wall safe, Garrison St. (Ch. 1) | 1908 | The year the Radio Store opened | Handgun ammo + Dolorocide Pill (healing). Unlocks The Inheritance achievement |
| Church watergate lock (Ch. 2) | 1672 | The year of the bell — church built 1667, bell cast 5 years later | Story progress |
| Devil's Reef Hotel, Room 301 safe (Ch. 2) | 2137 | Safe Code Letter + 'Baby, One More Tide' lyrics | Voss Aiming Grip (pistol attachment) + ammo |
| Akeley Hospital storage room padlock (Ch. 3) | 1308 | Notes with digits 0, 1, 3, 8 found in the hospital | Submachine gun upgrade |
| Fish Market Locker Room safe (Ch. 4) | 1496 | Clues completed via the Salt Storage note | Grenade launcher upgrade |
| Abandoned Office safe, past sequence (Ch. 4) | 6294 | Given by the ghostly figures in the memory | Heart of Stone / Leyden Jar (story item) |
Gate fuse box (Chapter 1)
Three fuses, five cross-shaped bays. Ignore the grey-wired bays; use the three middle bays with colored wires, rotating fuses as needed:
- Straight (I) fuse — connects the two blue wires
- T-shaped fuse — connects the three yellow/green wires
- Right-angle (L) fuse — connects the two red/orange wires
Hit Validate, then pull the lever. Radio Store route and rotation notes: gate fuse box puzzle.
Printing press (Chapter 2)
Insert Printing Plates A, B and C, then flip tiles to make the grid one solid color. The color decides the reward:
- All silver (Dream Essence): flip top-left, middle-right, bottom-right.
- All gold (Cutter's Sturdy Stock shotgun attachment — bonus backstab damage): flip center, bottom-left, middle-right, top-right.
Save at the nearby safe room first. The gold reward is generally the better pick if you use the shotgun; Dream Essence buys talents instead. Plate locations and numbered tile inputs: Printing Press puzzle guide.
Symbol & sequence puzzles
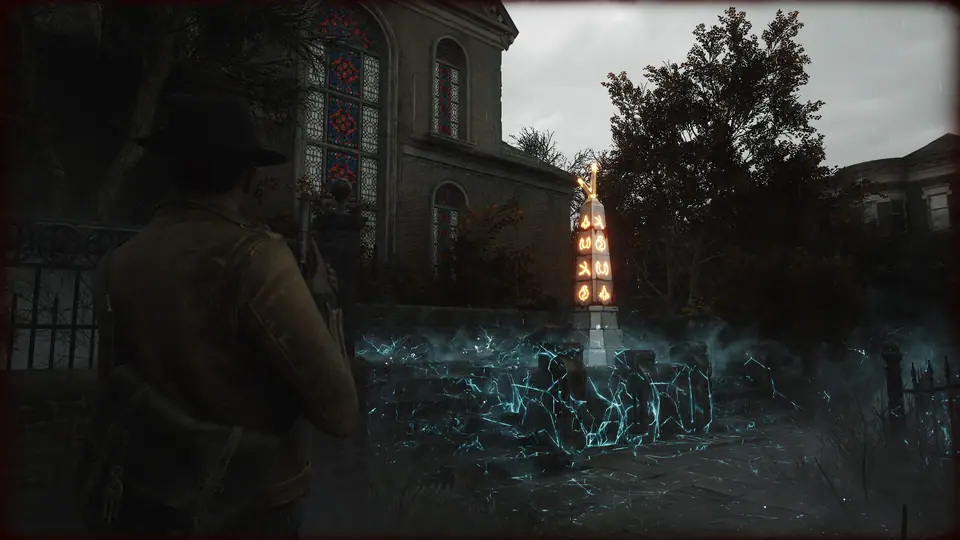
- Obelisk (Ch. 2): place the Trident, then enter the symbol order from the crypt note and validate — step away immediately to dodge the three lightning strikes. Exact top-to-bottom answer: Church Trident & obelisk solution.
- Hotel ventilation machine (Ch. 2): press button 1 twice, button 2 four times, button 3 twice, pull the lever, then button 1 once more.
- Wireless Room brains (Ch. 3): enter 13, 05, 36 after speaking to all three brains. See the Wireless Room clue-by-clue solution.
- Prism stations (Ch. 3): rotate the three dials so the symbols from your Investigations tab line up with the colored marker — top (blue), lower-left (yellow), lower-right (pink). Full route: Akeley Hospital walkthrough.
- Buoy locker, Fishing Shop (Ch. 4): symbol order Lighthouse – Rope – Starfish – Octopus. Contains a submachine gun upgrade and unlocks The Drowned achievement. Clue route: Ezekiel buoy locker. (GameSpew's walkthrough labels the symbols differently — "Rings, Star, Squid" — but three other guides agree on Lighthouse–Rope–Starfish–Octopus.)
- Salt Storage, Cutting Area (Ch. 4): press buttons I, IV, IX, XVI. The values are the first four square numbers: 1, 4, 9 and 16. Do not substitute XI for IX.
- Statue arms (Ch. 4): after using the Heart of Stone, shoot the arms in this order: kneeling person (right) → octopus (upper left) → Deep One (lower right) → hourglass (left) → Leyden Jar (lower left). Then take the Heart of Ice to the separate Frozen Statue — complete Frozen Statue route.
Head containers (Chapter 3)
The three container puzzles in Akeley Hospital all work the same way: rotate the container, remove the screws, take out the piece below the spinning disc, work the disc switches, then remove the metal pieces around the head. Each yields a face mask that opens matching doors.